Customized Integration
This page is a directory, not where integrations are made. Every customised integration in the project shows up here, with a search box above and four tabs below — All, Bot, API, MCP Servers — to filter what is listed.
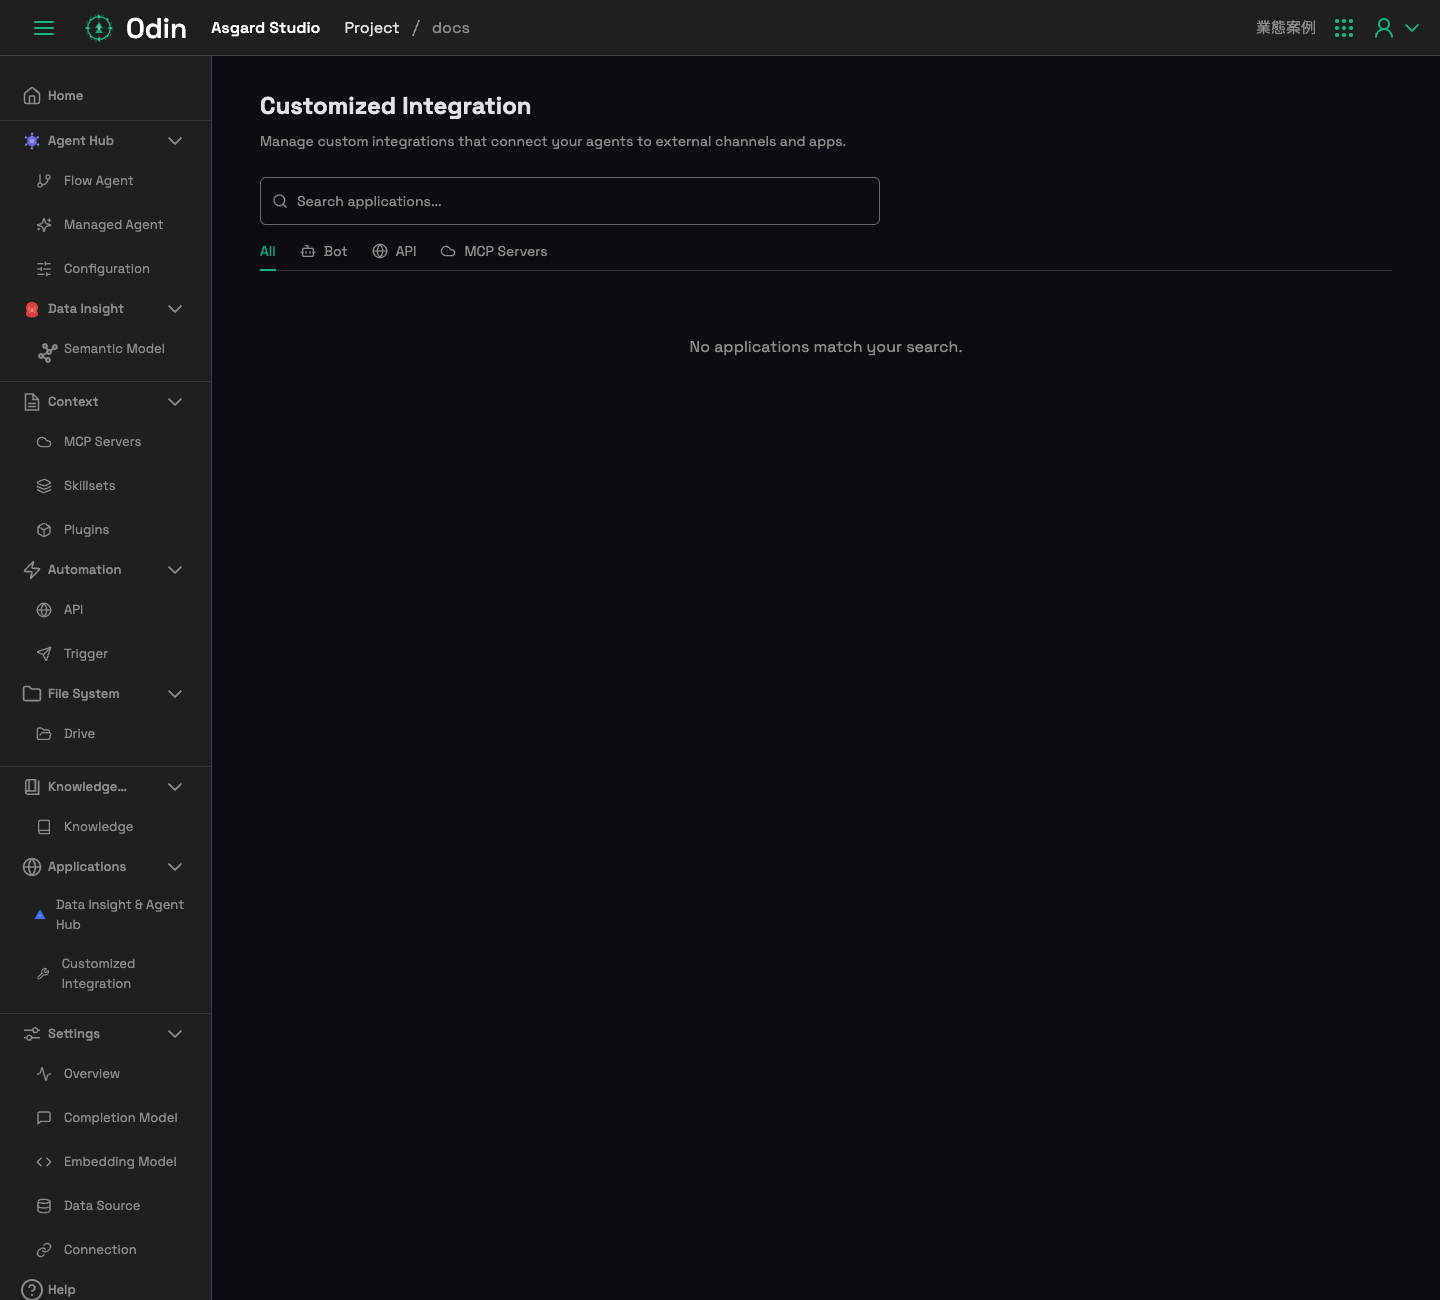
What lands under each tab:
| Tab | What it collects |
|---|---|
| Bot | Integrations published from a Flow Agent |
| API | Integrations published from an Automation Tool workflow |
| MCP Servers | Toolsets |
Each card carries an enable toggle, so an integration can be switched off without being deleted, and clicking a card jumps back to the thing it was published from.
Creating a Flow Agent alone does not put it here — it has to be published first. That happens in the next section.
Creating an integration
An integration is a release of a Flow Agent, so the entry point is inside the workflow set, not on this page.
Step 1. Open the Flow Agent you want to publish, go to its workflow set, and click Release at the top right to open the release panel.
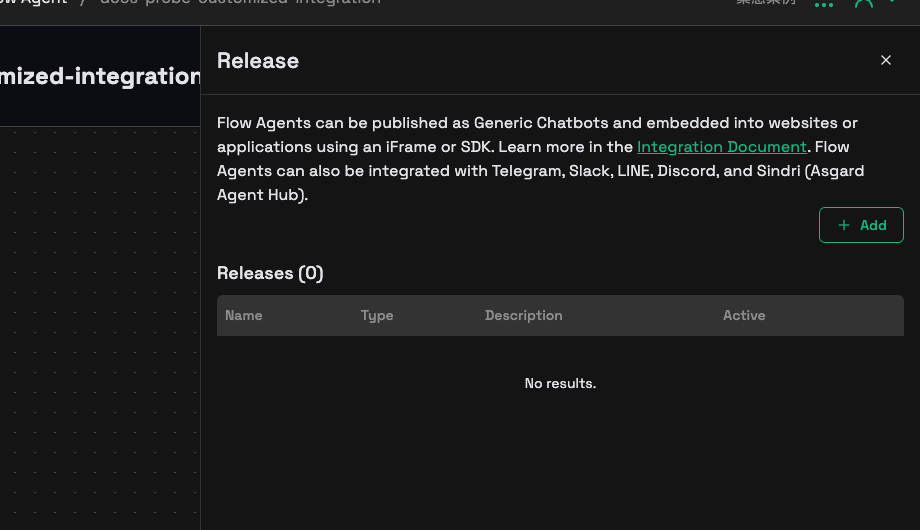
The panel states what a Flow Agent can be published as: a Generic Chatbot, embedded into a website or application through an iFrame or the SDK; or an integration with Telegram, Slack, LINE, Discord, and Sindri (Asgard Agent Hub).
Below it, the Releases table has four columns — Name, Type, Description, Active — listing what this workflow set has already published.
Step 2. Click Add to open the New Integration form.
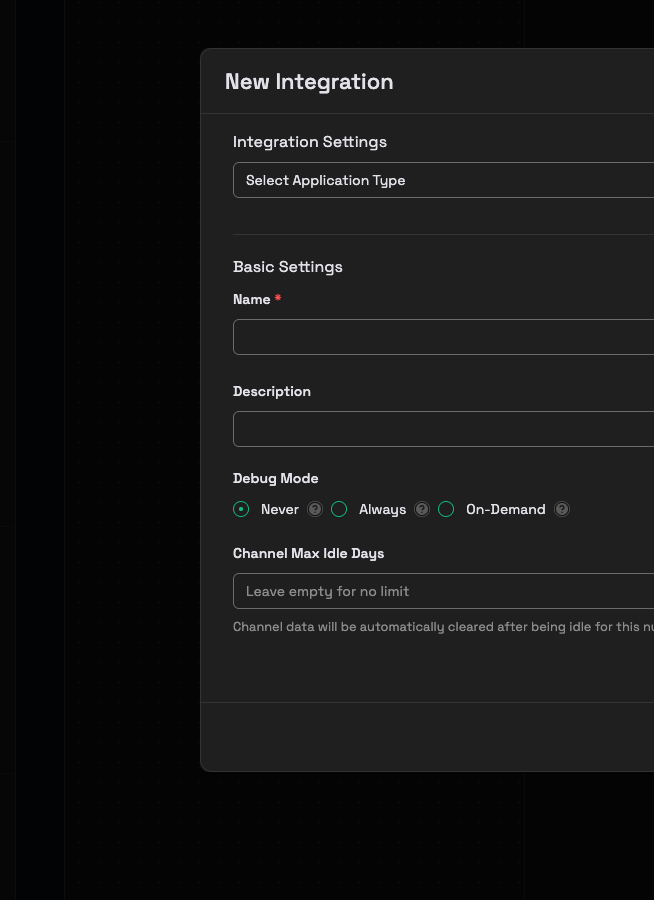
| Field | What it is |
|---|---|
| Application Type | One of the six above |
| Name (required) | The integration's name, used to identify it in the Releases table and in the Customized Integration list |
| Description | What this integration is for. Not required — it submits empty |
| Debug Mode | Never (default) / Always / On-Demand, pick one |
| Channel Max Idle Days | Clear the channel's data after this many idle days. Leave it empty for no limit |
Debug Mode
| Mode | Behaviour | When to use it |
|---|---|---|
Never (default) | Returns no debug output | Always this one in production |
Always | Returns debug output continuously | Briefly, during development, to trace the message flow |
On-Demand | Returns debug output only when the request carries is_debug=true | Tracing one request without affecting anyone else |
Always and On-Demand can both send prompts, variable values and tool-call arguments to the end user's device. Turn them on only while you need them, and switch back to Never in production.
You do not supply the API key
There is no API Key field on the form. A Generic integration's API key is issued by the platform when the integration is created; the client never sends it, and it can only be replaced by regenerating it. This differs from earlier versions, where the API key was a pre-shared secret you typed in yourself.
Once the integration exists, open it from the Releases table to get the endpoint and key an integration needs.
Related pages
- Flow Agent — build the agent you are publishing
- JavaScript SDK — wire a Generic Chatbot into a site with the SDK
- API — integrations from an Automation Tool workflow